In the last blog post we were introduced to the basic idea of 3D printing, where objects are built up layer by layer. In this post we will dive into some more detailed ideas behind designing for 3D printing.
There are three ideas we will focus on: layer thickness, print orientation, and strength. Let’s explore each of these ideas by building a few more objects with modeling clay (recipe here)!
Layer thickness
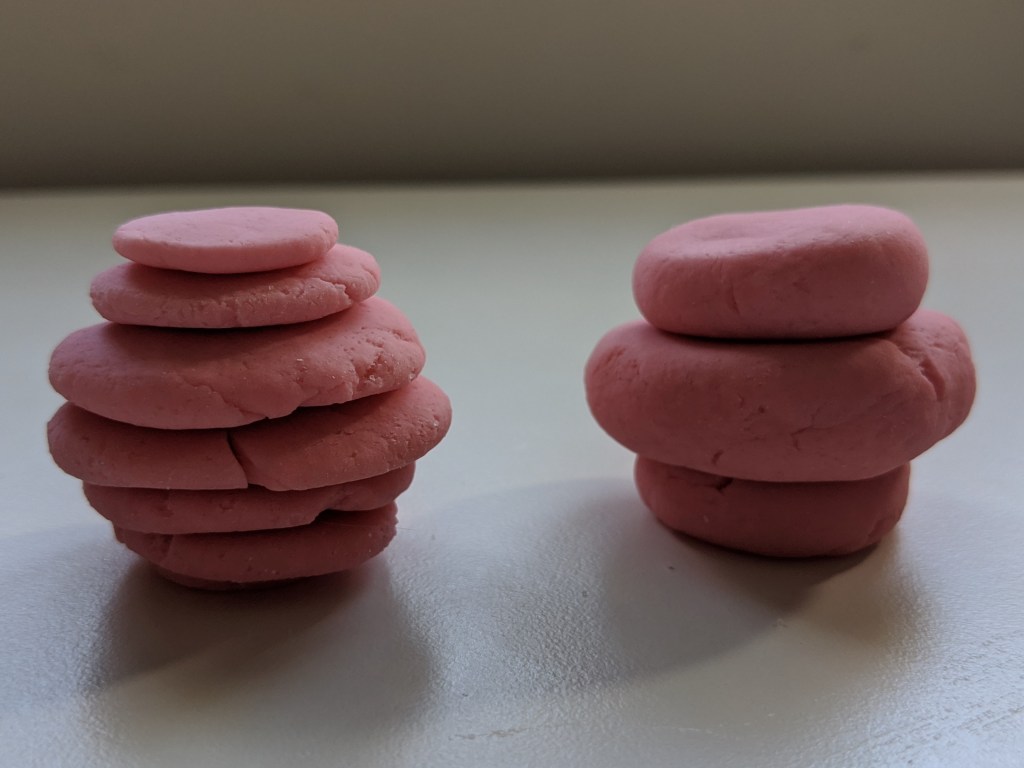
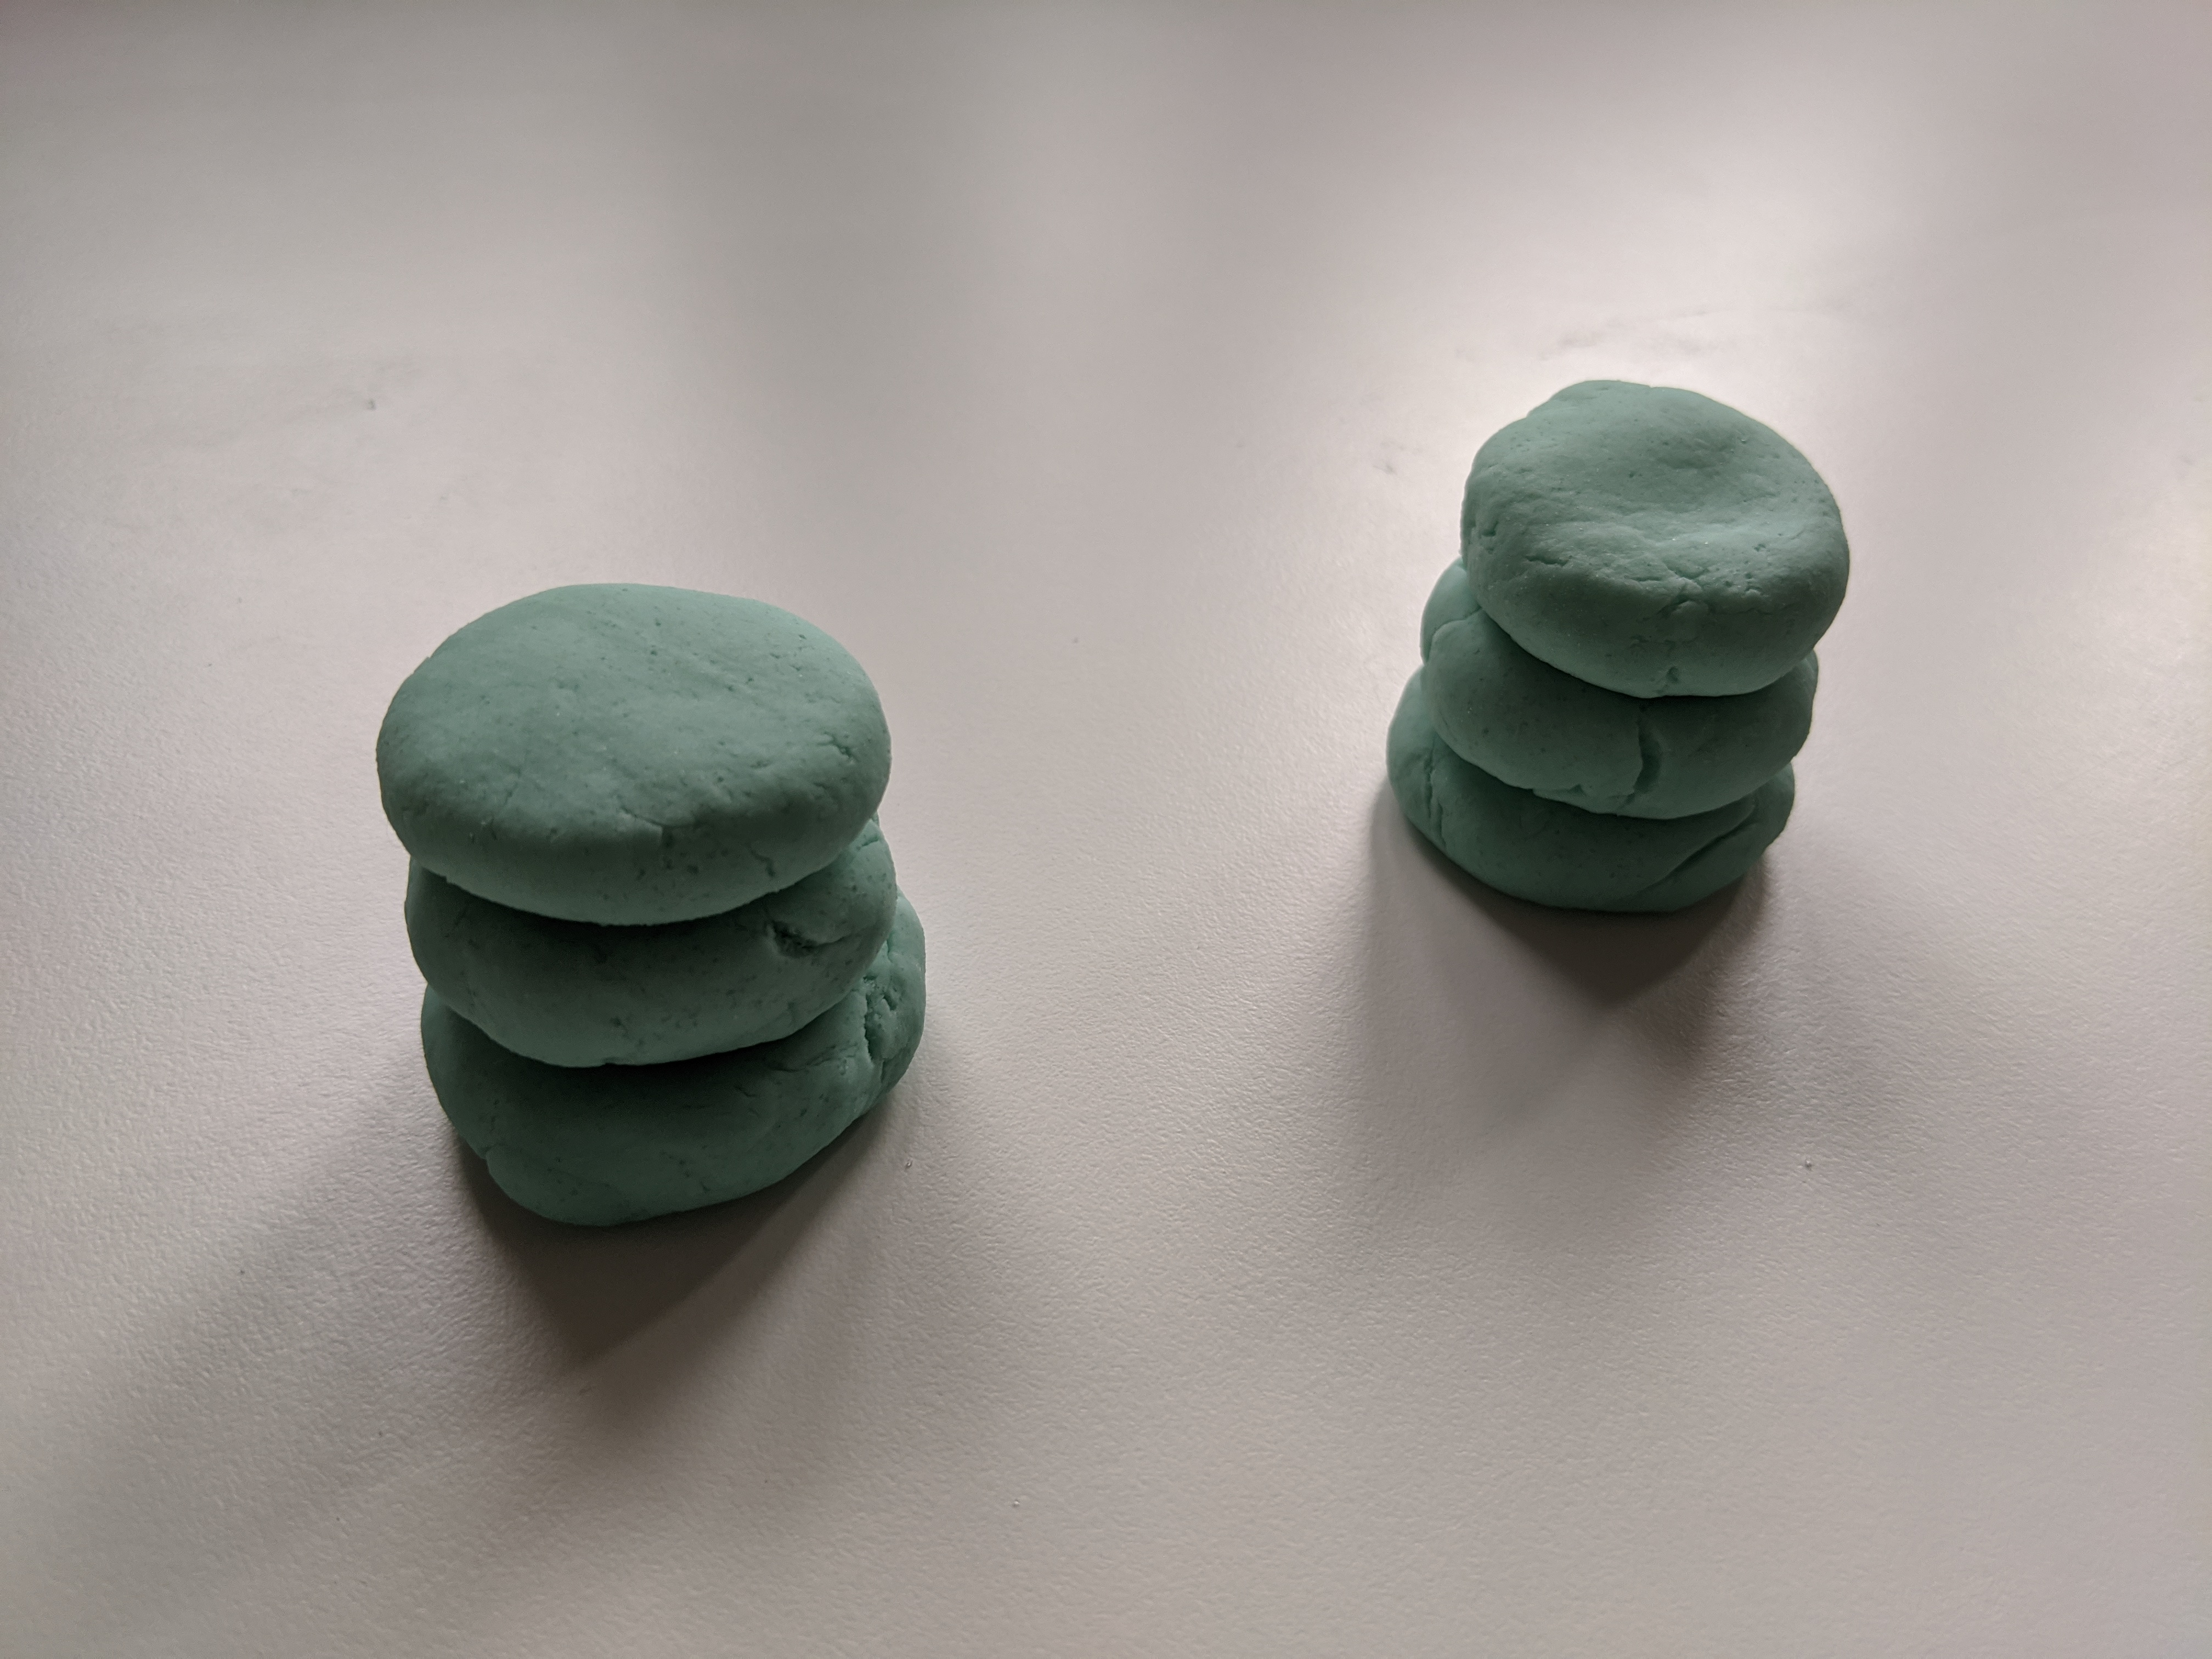
The thinner each layer is, the more detailed your object can be. For example, look how much better this sphere looks when there are seven layers (left) compared to only three (right). The downside of having more layers is that it makes the printing take longer! It took me about four minutes to build the sphere on the left, and half the time to build the sphere on the right.
Print Orientation
Another thing to consider when 3D printing is what direction you want to build the object in. This is called “print orientation”. To explore this, let’s look at three different ways to 3D print a bridge.
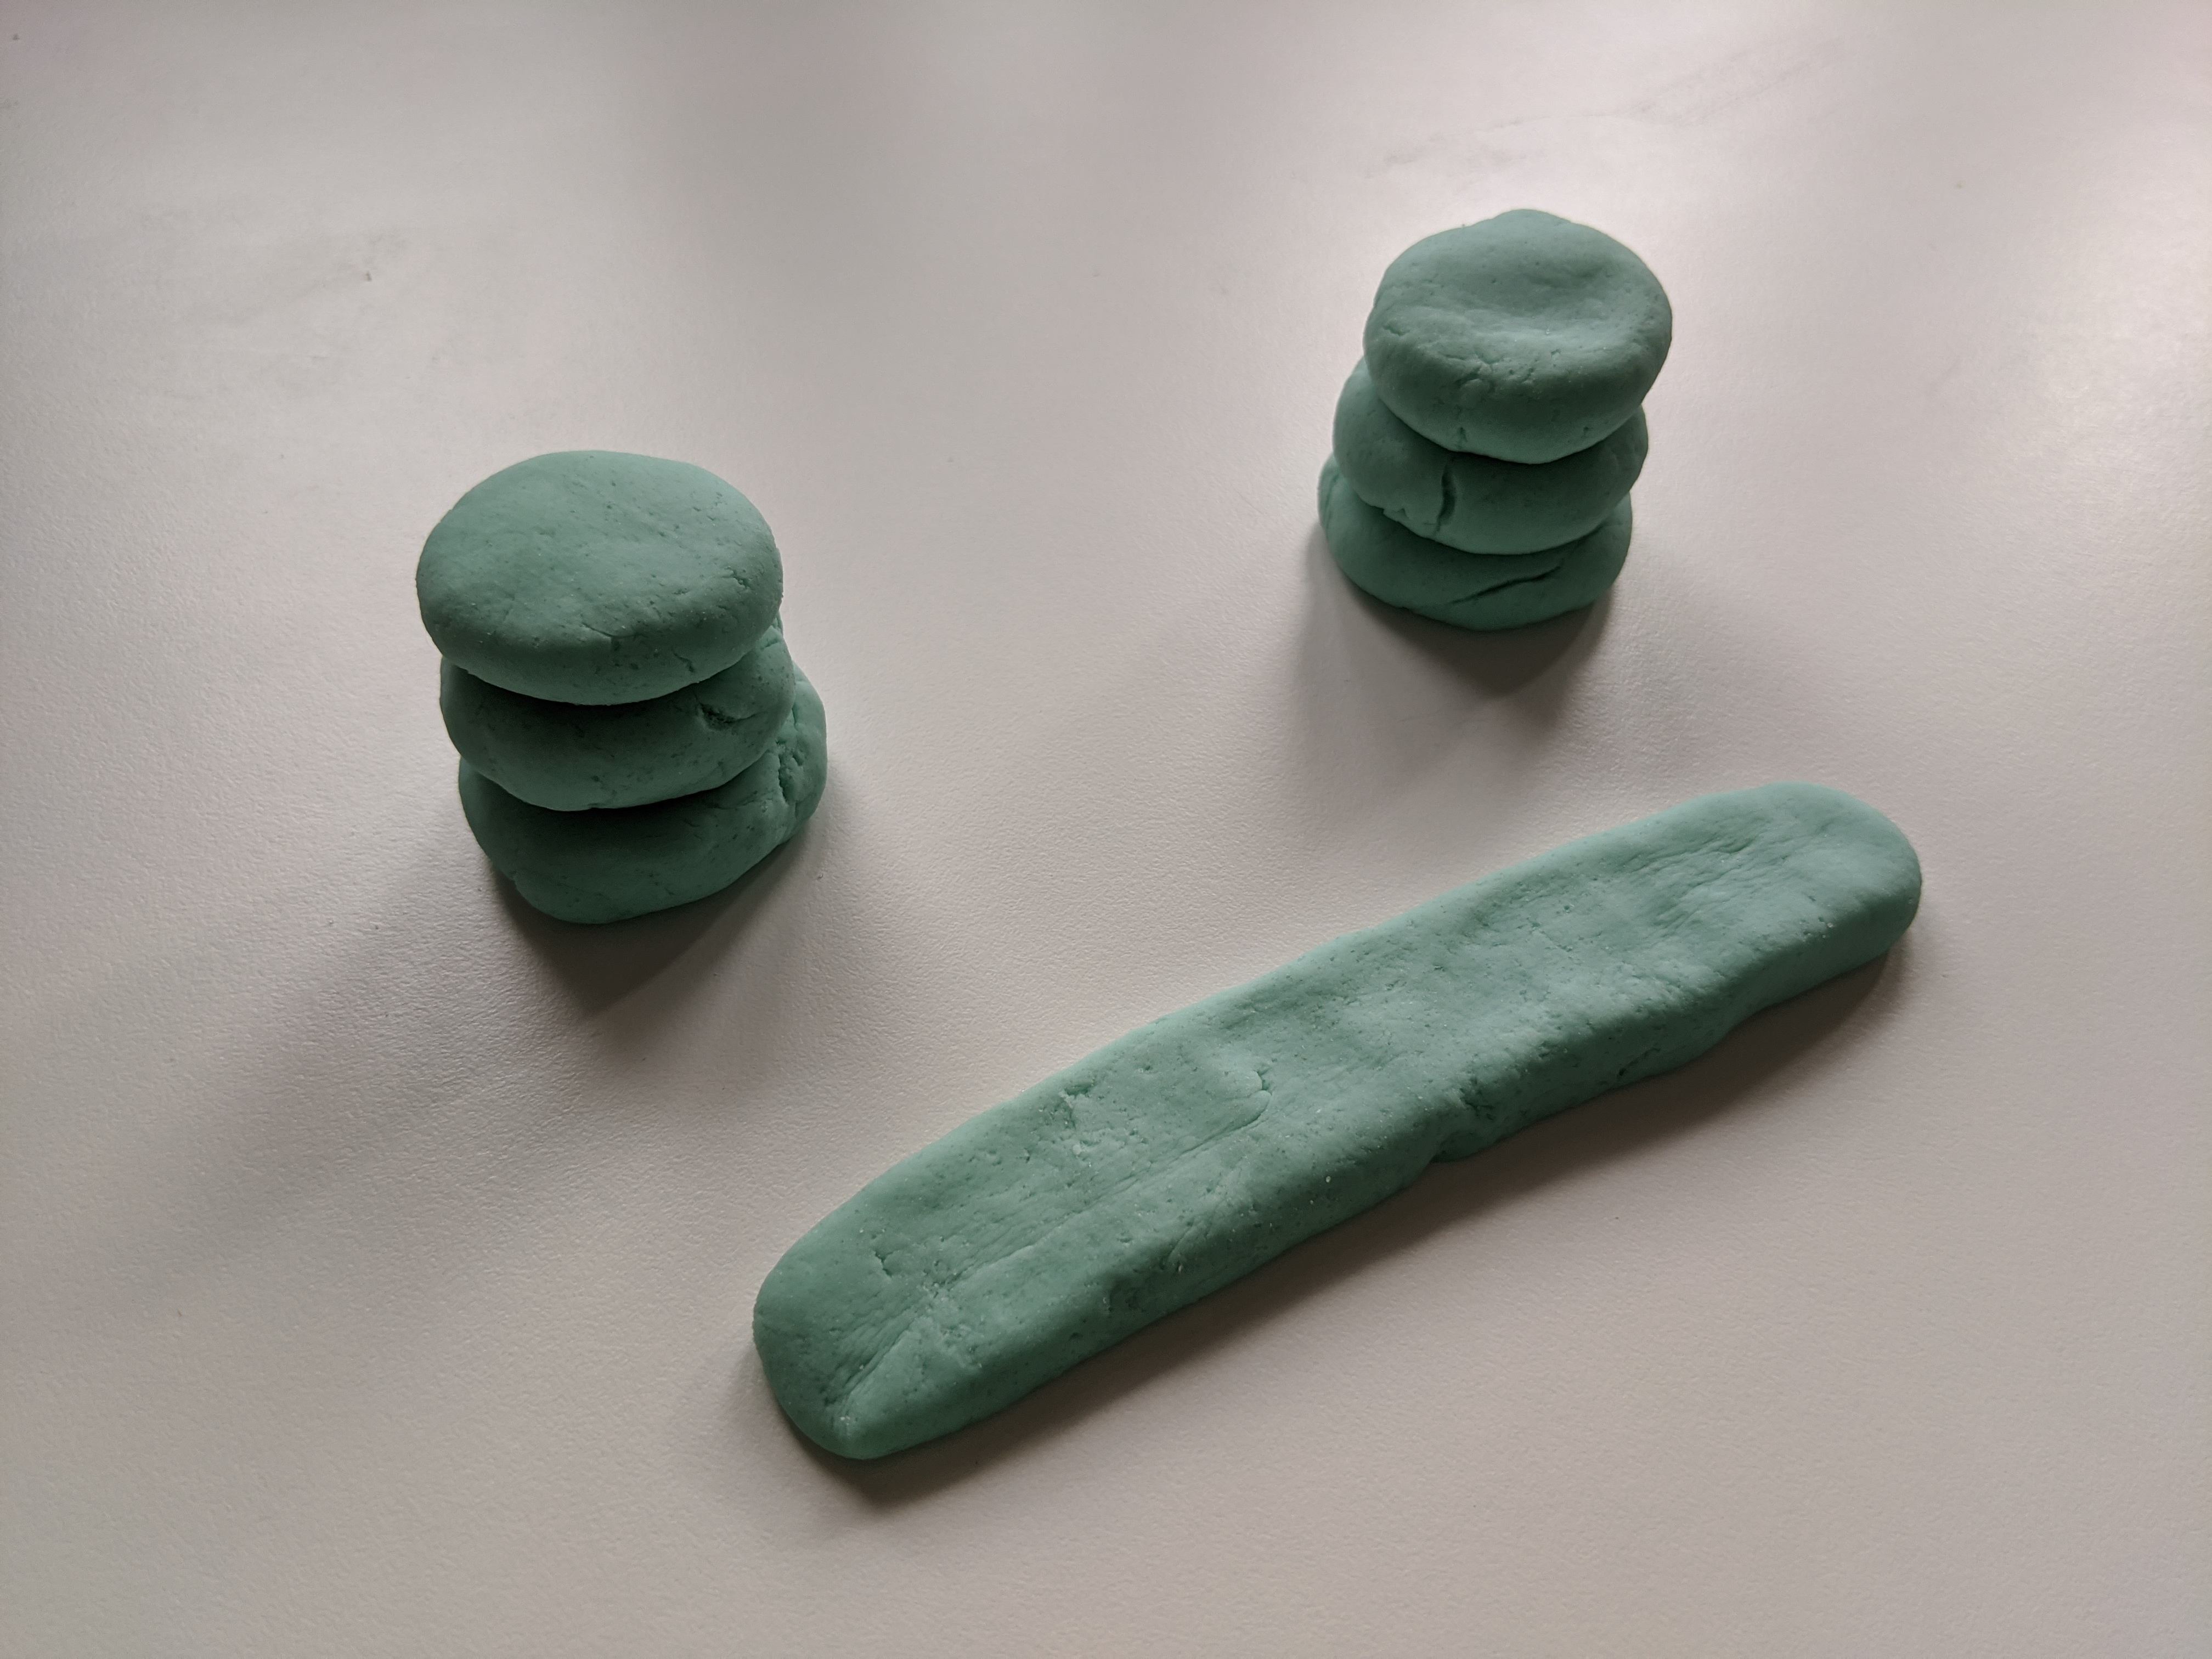
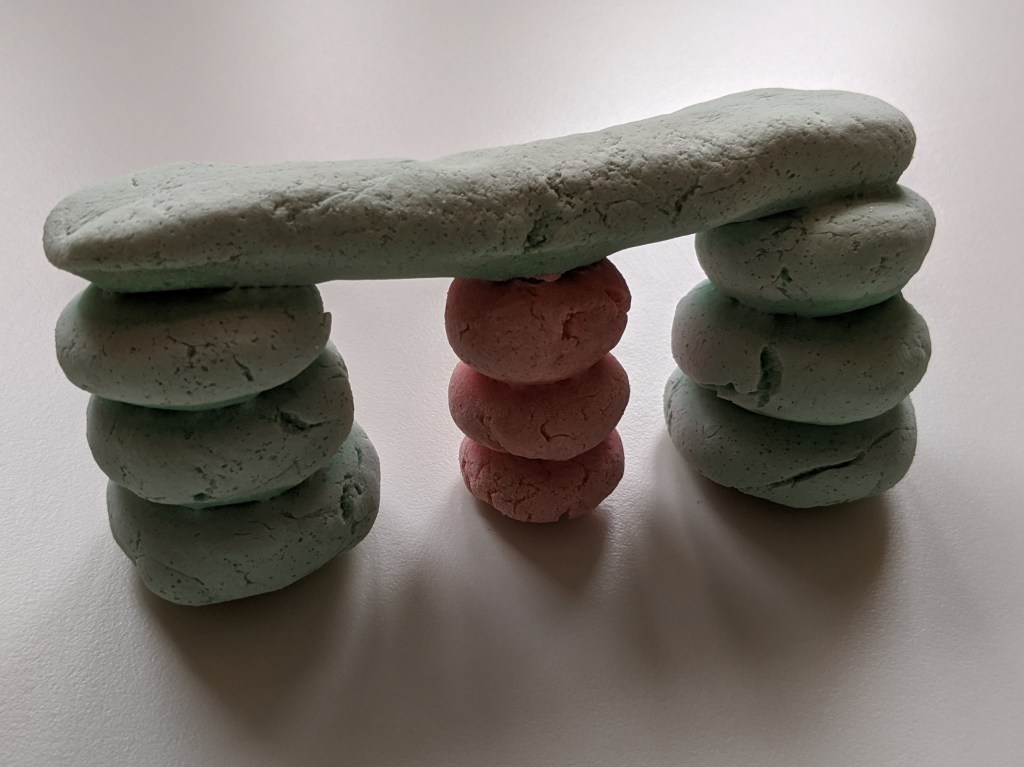
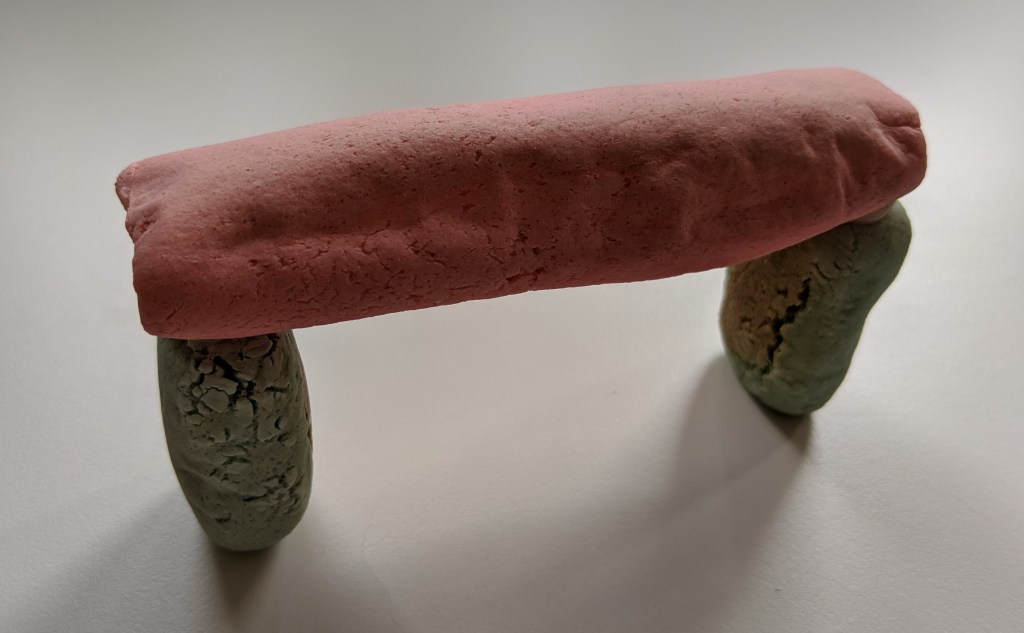
1. It might seem like the easiest way to build a bridge is from the bottom up. First I made the support beams, and then I rolled out the top of the bridge:
What do you think happened when I tried to put the top of the bridge on the support beams?
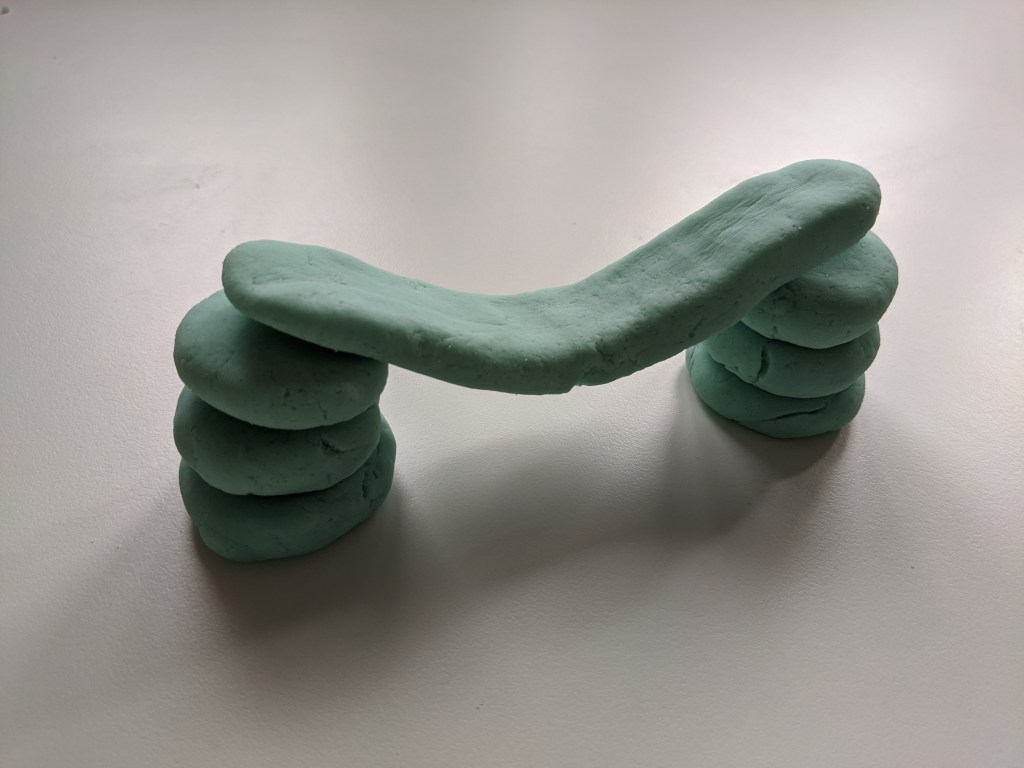
It collapsed! Sometimes 3D printed objects need to be supported until they have hardened. I added some pink modelling clay to hold up the middle of the bridge so that the top of the bridge stayed flat. These parts of the design are usually called “supports”.
After baking, I removed the supports and the bridge stayed flat!
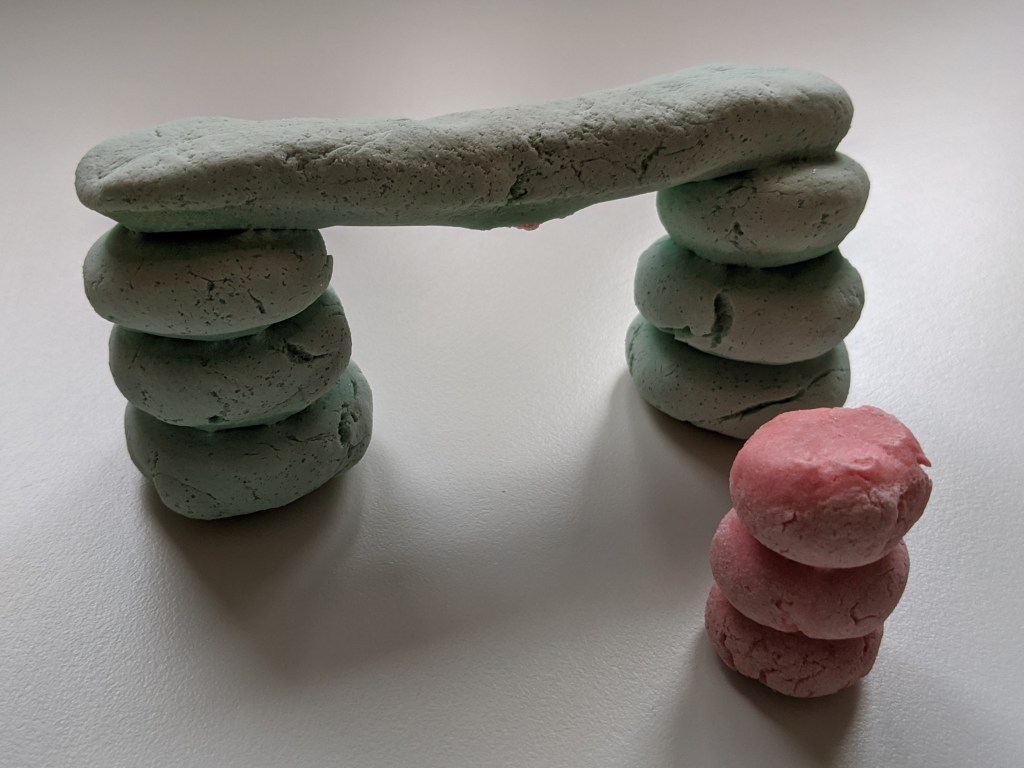
In 3D printing, these supports are removed after the print is finished and the object has hardened. Sometimes the supports are made with the same material as the main object, and sometimes they are a different material that is softer or can be dissolved away.
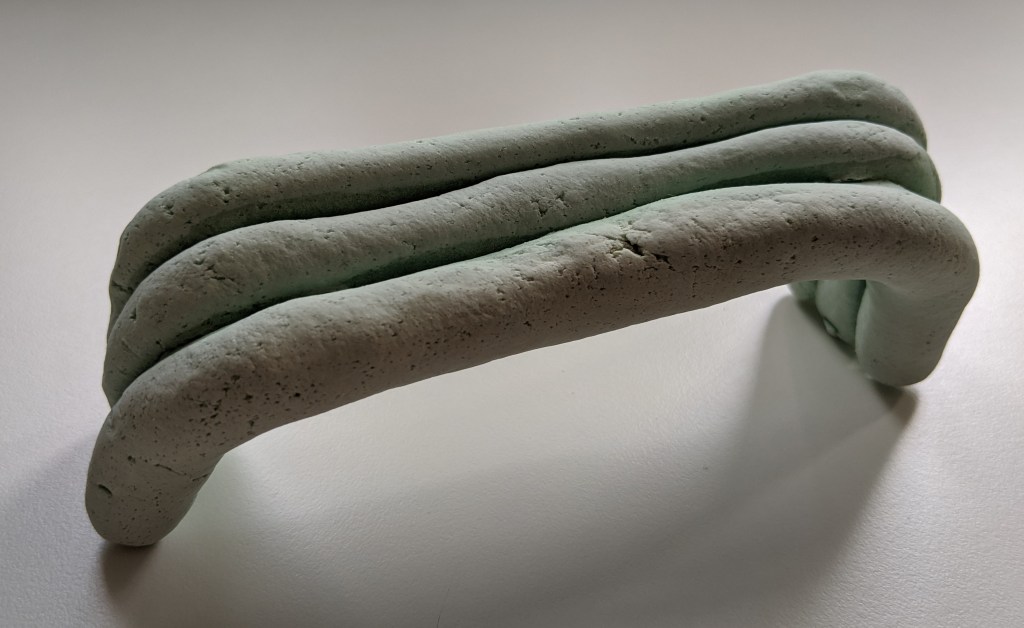
2. Another option is to change which side of the object is on the bottom. This is called the print “orientation”. Instead of building the bridge right-side-up, what if we built it on it’s side? That way we don’t need to use any supports.

After baking, this bridge was very strong! The advantage of this bridge is that there was no wasted material, however it does look very different from the first bridge.
3. Finally, we could also build the bridge in separate pieces, and then attach them together with glue once the pieces have hardened in the oven.
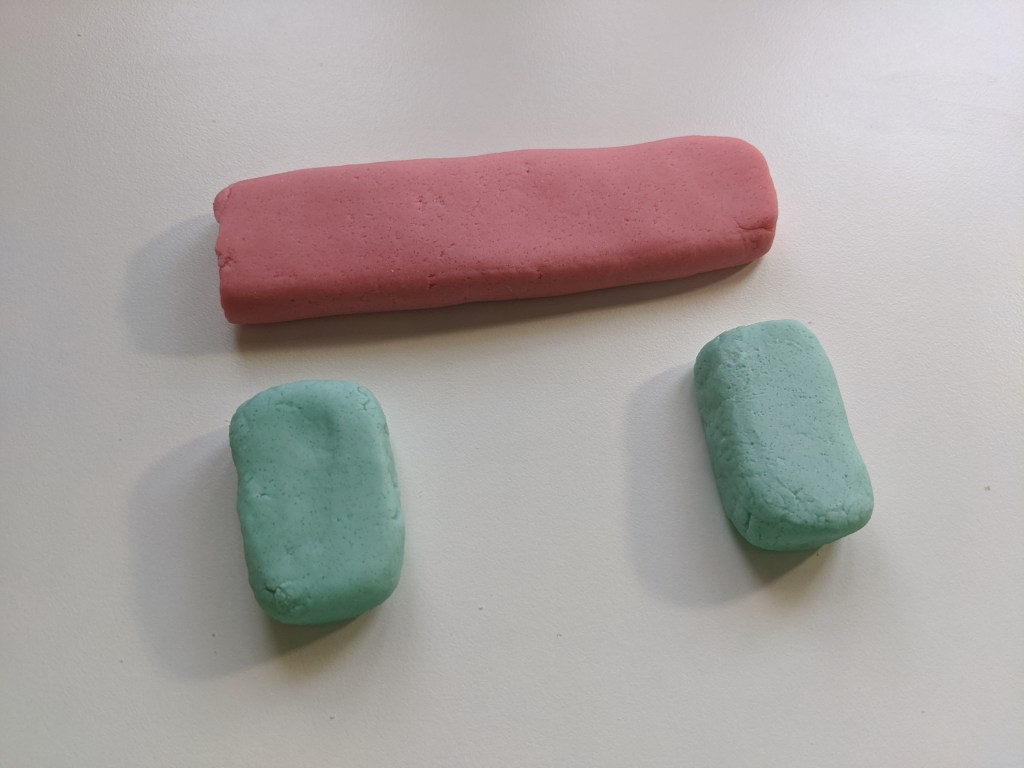
After baking, I glued together the three pieces of the bridge. While this bridge was strong, it required more work than the other two bridges.
Each of these different ways to build a 3D printed bridge worked, and each method had its own advantages and disadvantages. It is the same with 3D printing!
Strength
The last thing to consider is how orientation will also change how strong the object is. For example, if I drop the sphere below, how do you think it will break? Along the middle (left image), or between two of the layers (right image)?

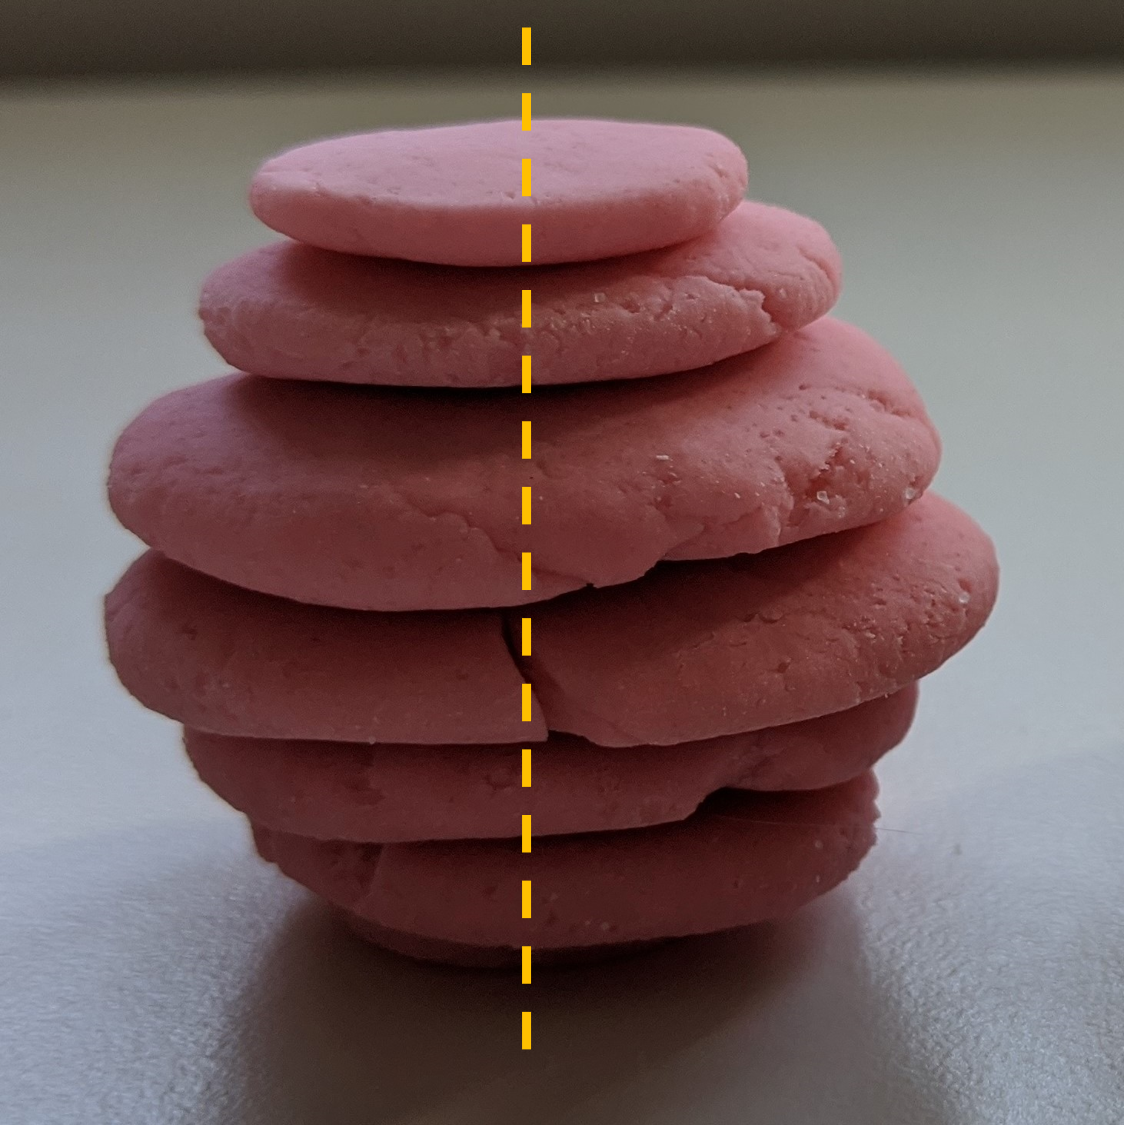
Here’s what happened when I dropped it:
It broke along the edge between two layers! So, if you want an object to be strong in a certain spot, it is important not to have an edge there.
There you have it! A quick explanation of layer thickness, print orientation, and strength. Here are some questions to think about before you start building your next 3D printed object with modeling clay:
- How thin should the layers be?
- What part of my object is the most likely to break?
- What orientation should I build the object in?
- Do I need any support material?
Good luck building! This activity is based on the book If: Ball, Then: Catch.
